Wedding Cake (3 Tiers)
Ingredients
- 1 x 15 cm. (6") square Fruit Cake
- 250 gr. packet ready white marzipan
- 250 gr. ready to roll white icing
- Warmed and sieved apricot jam
- 1 x 23 cm. (9") square Fruit Cake
- 500 gr. packet ready white marzipan
- 500 gr. ready to roll white icing
- Warmed and sieved apricot jam
- 1 x 30 cm. (12") square Fruit Cake
- 750 gr. packet ready white marzipan
- 750 gr. ready to roll white icing
- Warmed and sieved apricot jam
- 2 thin square cake boards, 15 cm (6") and 23 cm (9")
- 1 thick square cake board 35 cm (14")
- 8 wooden dowels
- 2 polystyrene squares 15 cm (6") and 10 cm (4") sq. The ones I used gave a gap of about 5 cm (2") so they could be filled with fresh flowers.
- A length of white satin ribbon to go round the base of all the cakes.
Method
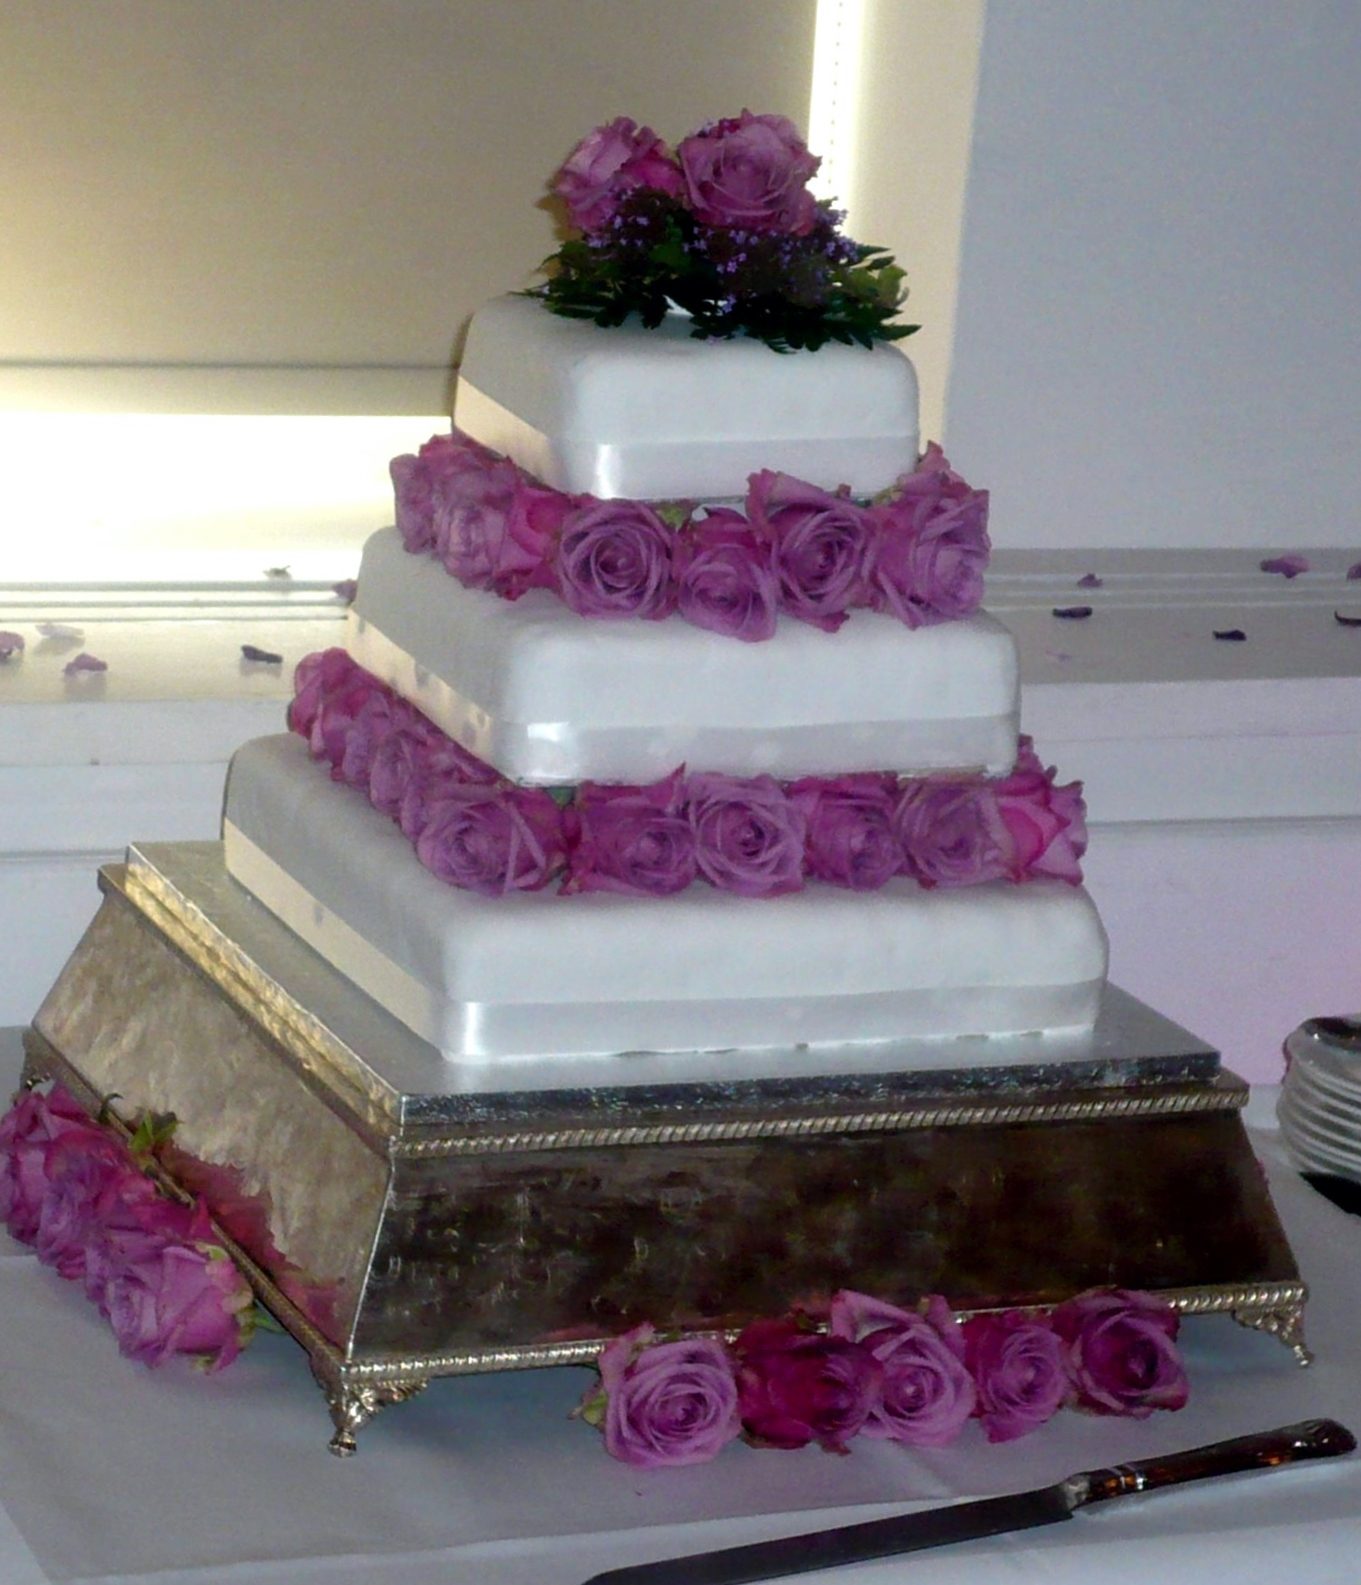
This is the wedding cake I made for Feyzan & Ross’ Wedding on 5th October 2007. If you enjoy baking can there be anything as thrilling or exciting as making your daughter’s wedding cake……
Start to marzipan the cakes a couple of weeks before you want them
To marzipan a cake:
Brush the top and sides of the cake with some boiled and sieved apricot jam. This prevents there being any mould present.
Knead the marzipan to make it pliable. Dust your work surface and rolling pin with icing sugar and roll out the marzipan into a large square (according to your preferred thickness) so that it will cover the top and sides of the cake. Roll the marzipan over your rolling pin and lift it gently over and around the cake to cover, trimming any excess. Use your rolling pin to gently roll and pat the top and sides to make it smooth. Leave to dry out for up to a week in a tin or box, lightly covered with a double thickness of greaseproof paper. Do not close with a lid, you need the air to get to it.
To Ice the cake:
Brush the marzipan all over with boiled, cooled water. This will help the icing adhere to the marzipan.
Knead the icing until pliable. Dust your work surface and rolling pin with icing sugar and roll out the icing into a large square - again to your preferred thickness - so that it will cover the top and sides of the cake. Lift it gently up over the cake. Using your rolling pin pat and roll the sides gently to make them smooth. Trim off any excess.
Place white satin ribbon around the bottom of each cake.
To assemble the cake in tiers, as above:
I found it quite daunting, never having ‘tiered’ a cake before. But it was surprisingly easy - as long as you realise that fruit cakes are quite heavy and so will need some support to prevent them sinking into one another. To prevent this, wooden dowels are inserted into the bottom and middle cakes. The dowels will need to be cut to size, after they have been measured by inserting into the cakes as follows:
Place the 15 cm (6") polystyrene square in the centre of the largest cake and mark each corner with a slight indent.
Lift it off and about ½ cm. (¼") inwards from each indent, press in your dowel so that it reaches the bottom of the cake.
Mark the dowel with a pencil where it reaches the top of the cake. Take it out gently and cut it slightly below the pencil mark so that it does not stand proud of the cake.
Gently replace the dowel into its hole. It should sit snugly inside the cake. Repeat for each corner. When you have placed the remaining dowels in position place the polystyrene square on top.
Repeat with the medium cake using the 10 cm. (4") polystyrene square and the remaining 4 dowels.
Place the polystyrene square on top.
Centre the large cake on the 35 cm. (14") cake board.
Sit the medium cake on top of the polystyrene square of the large cake and then sit the smallest cake on top of the square of the medium cake.
Fill the gaps between the cakes with fresh flowers. Decorate the top with a posy of flowers.